This sweater bed is quite simple to make. Minimal sewing skills are needed for this project.
Supplies you will need:
Scissors
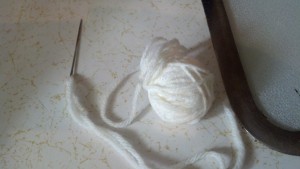
Yarn
Needle with an eye big enough to sew with yarn
Straight pins
A sweater
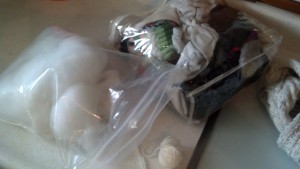
Stuffing: Material to stuff the sweater with can be anything soft. I used mismatched socks, worn out t-shirts and a little bit of cotton stuffing from the craft store.
Step 1: Gather your materials.
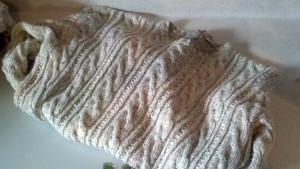
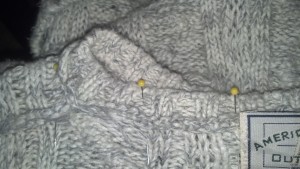
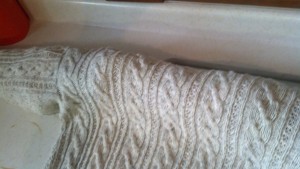
Step 2: Turn the sweater inside out. Use your straight pins to pin the neck opening closed. Lay the sweater flat, and pin the opening shut for easier sewing.
Step 3: Sew the neck opening shut. You can do this by hand or on your sewing machine.
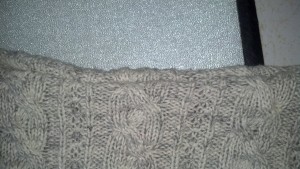
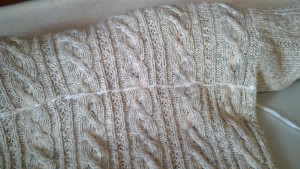
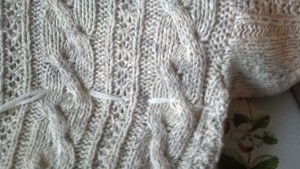
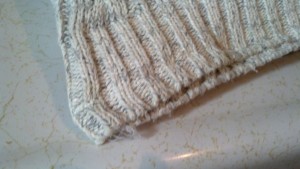
Step 4: Turn the sweater right side out. The neck line of the sweater will look similar to this once it is sewn shut.
Step 5: Begin stuffing the sleeves of the sweater. Fill it until you get the softness or firmness you prefer for your pet bed. The sleeves will form the sides of the bed, and will need to be sewn to the base, so do not make them too rigid or they will be difficult to work with.
Step 6: Begin stuffing the bust area of the sweater. This part will be the back of the bed. With the sweater laying flat the stuffing in the bust area should line up with what you have stuffed into the sleeves.
Step 7: Sew the bust area of the sweater with the stuffing in it, closed. These stitches do not need to be perfect. You will not see these stitches once the bed is completed.
Step 8: Fill the remainder of the sweater with stuffing. This will be the area your furry friend will lay on. Stuff this according to the softness your pet prefers.
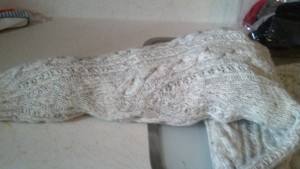
Step 9: Pin the bottom of the sweater closed and sew it shut. Straight across will do. You can do this by hand or on your sewing machine.
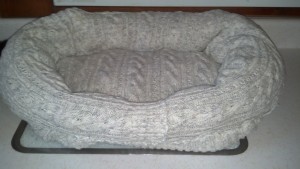
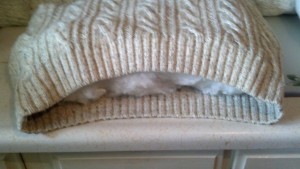
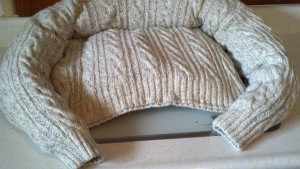
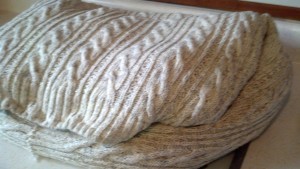
Your sweater bed should look similar to this once the bottom has been sewn closed.
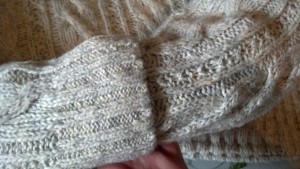
Step 10: Bring both of the openings of the sleeves together and place one sleeve edge into the opening of the other. You may want to pin the sleeves in place depending on how slippery your sweater fabric is.
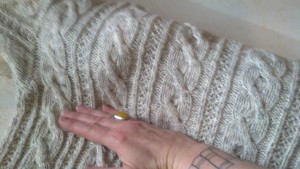
Step 11: Sew the two sleeves together. I used a simple whip stitch to sew these together. The stitches do not have to be perfect so use whatever simple stitch you are comfortable with to sew the two sleeves together.
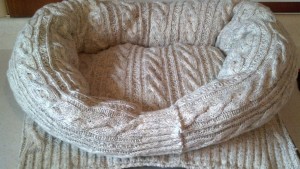
Step 12: Attaching the sides to the base. Turn your pet bed over. Begin stitching the sides and the base together. Again, the stitches do not need to be perfect. A whip stitch works well here.
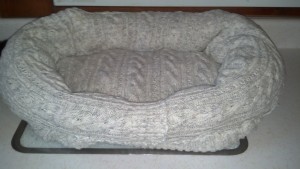
Once you have stitched all the way around the sleeves attaching them to the base, your bed is complete. This bed was made for a family of stray kitties who needed a place to stay. I am fortunate to be fostering these little sweeties until they are old enough to be adopted.

Great idea to recycle used clothing and your pets can enjoy them also. Easy to make which also is nice.
LikeLike
This is a great idea and looks so easy too! I will have to let my daughter k now about this since she has several kitties that love to snuggle and she is great t craft things.
LikeLike
And the kittens are so cute!
LikeLike
What a great idea and so easy too. I am going to show this to my daughter who has a few kitties and she is crafty too. Good instructions and easy to follow.
LikeLike